Looking to increase engagement on your virtual tours in a way that adds value for your visitors? It’s time to add audio guides!
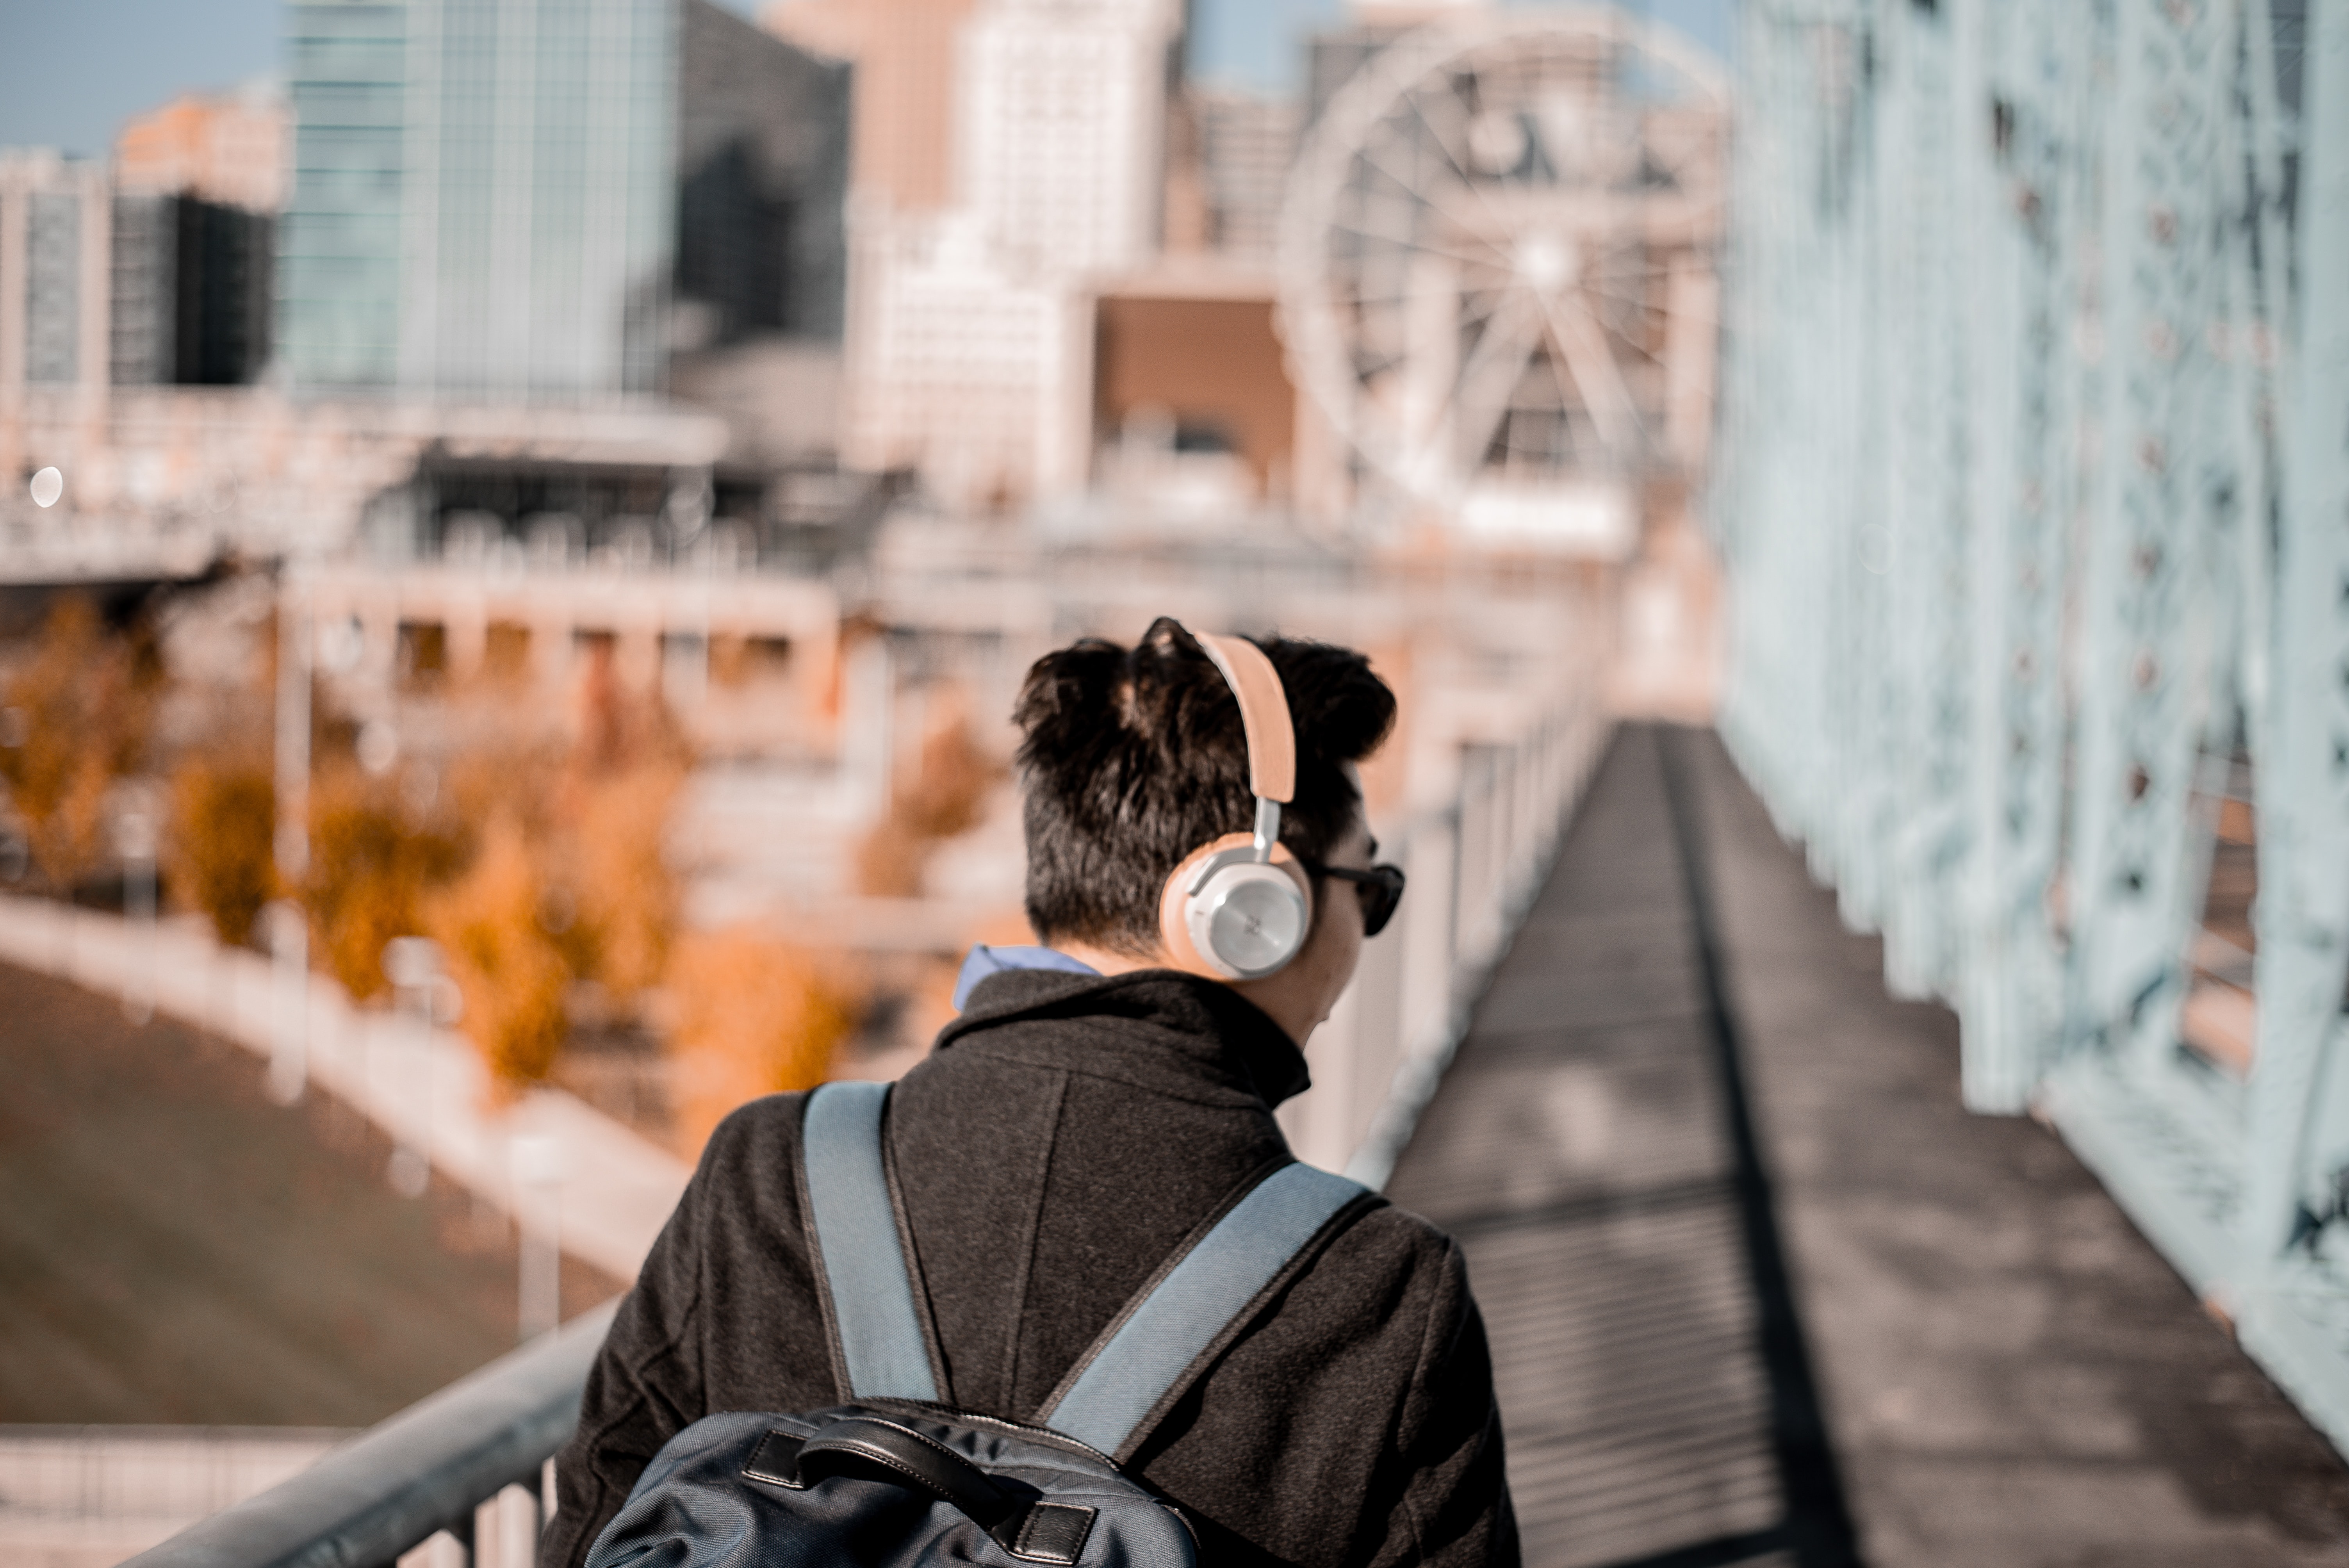
It's no secret that audio content is growing in popularity among younger audiences. A recent Insider Intelligence report cited more than 60% of US adults aged 18 to 34 listen to podcasts on a monthly basis. Companies and brands are starting to incorporate audio into other areas of their marketing efforts.
Customers utilizing the audio guide feature to narrate their tour offerings are seeing huge boosts in their tour engagement. Seneca College recently relaunched their tours and saw an increase of 74% in session duration from users using the audio feature.
By utilizing features that increase the user experience, you’ll strengthen your tour and turn more leads into customers. And the best part? It doesn’t require too much effort to get these in place.
Ready to get started? This post covers all you need to know about audio guides. In it, we’ll discuss:
- What audio guides are
- Benefits of adding audio guides to your virtual tour
- The process of adding narration to your experience
What is an audio guide?
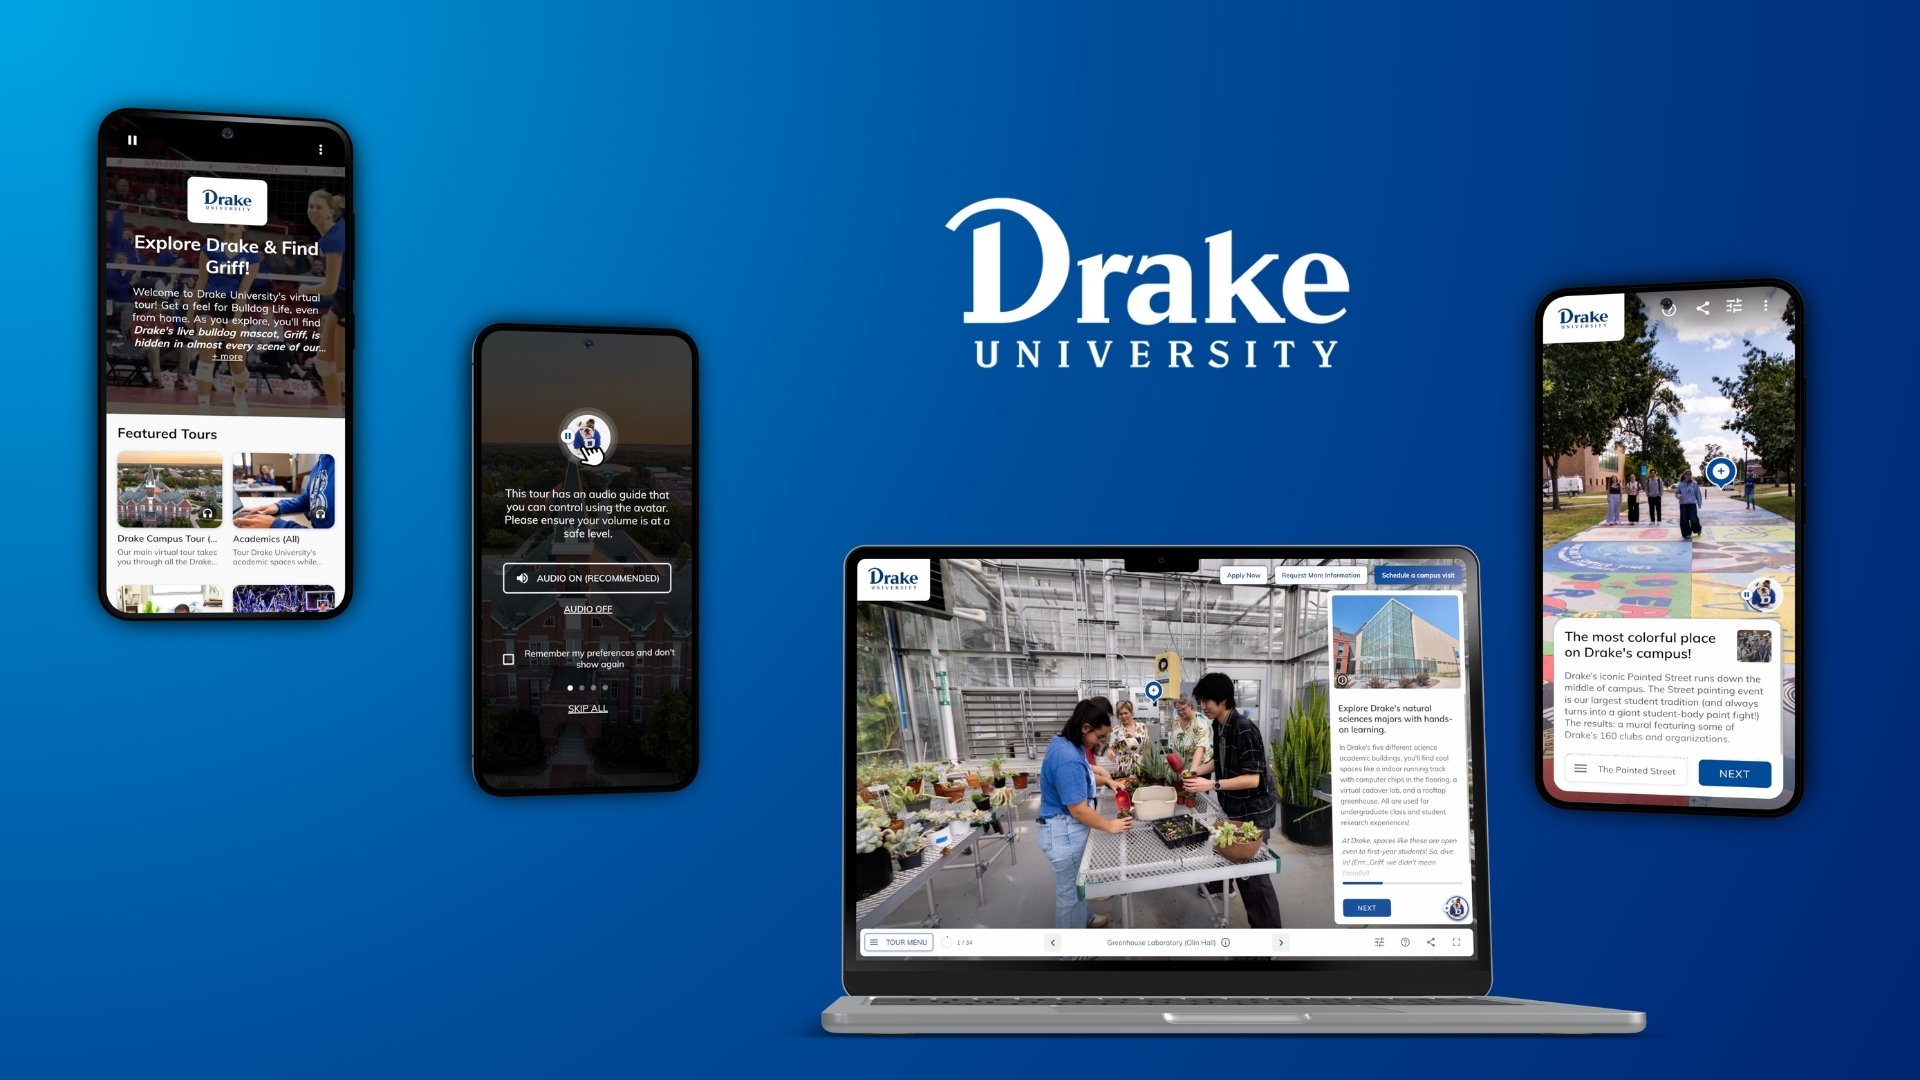
Audio guide is a Circuit Virtual Tour feature that narrates your tour story to your audience – letting them explore your space with their own tour guide. Allowing users to take deeper looks at the spaces without having to read your content themselves often leads to more time spent exploring your tour and higher engagement from your audience.
Benefits of adding audio guide to your virtual tour
1. Audio guides increase user engagement
Engagement is important for virtual tours. The longer people spend engaging with your content, the more they learn about your brand and in turn, the more they feel ready to take the next step in their buying journey.
Early trends from customers utilizing audio guide indicate extremely strong increases in user engagement on their virtual tours. As we’ve already mentioned, Seneca College saw an increase of 74% in session duration for visitors using audio guides compared to those who were not, within two months of launching audio guides. When given the choice to proceed with audio on or not, the “audio on” group outnumbered the “audio-off” group two to one. Additional increases were seen in pages per session and time on page. Across the board, audio guide users were increasingly engaged with the experience.
Seeing these numbers from customers validate that audio guides offer a strong engagement opportunity to push your customers to the next step!
2. Audio guides increase the immersiveness of your experience
Audio guides take the work out of your tour for your audience. Users are free to explore your spaces while they hear about what makes them special. They can look and fully invest themselves in your spaces while the narrated voice tells them more details. This helps your content further resonate with users and makes for a more immersive experience.
3. Audio guides support accessibility for your guests
Audio guides are a great way to improve accessibility for your guests! Having the option to either read guide cards or have someone read it to them, makes the experience usable for a larger audience. Visitors also have the option to enable or disable the audio throughout the tour so they can explore your spaces in their preferred way.
4. Audio guides are easy to implement
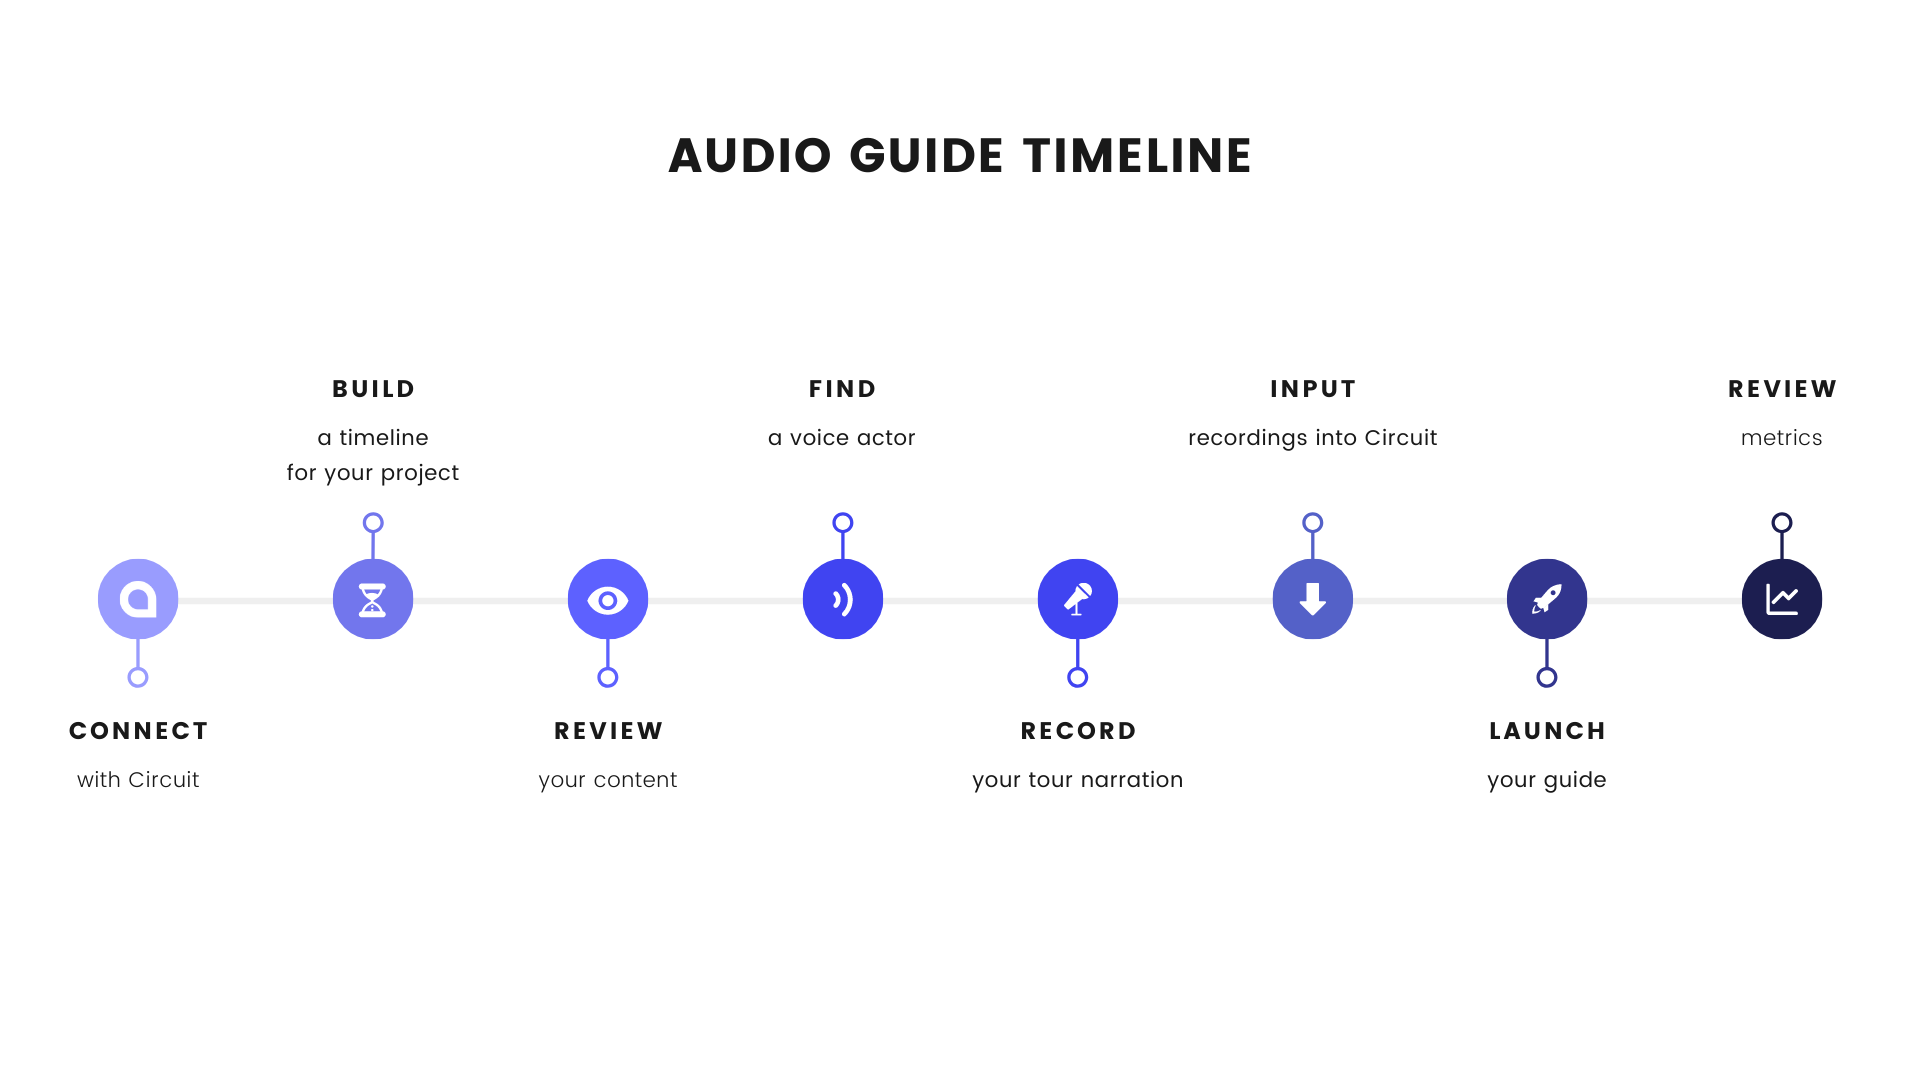
Audio guides not only offer huge opportunities for engagement, but they won’t take up too much of your time in terms of implementation. In other words, they are a big bang for your buck – giving you a big impact with fewer resources. Being mindful that you have many things on your to-do list, we’ve made audio guides a user-friendly implementation and included a timeline below to help you plan out the process.
How to get started with audio guide
Now that you’re ready to add audio guides to your tour, let’s talk about how to get started with the implementation process. We’ve added some tips from creating audio guides to let you learn from our experience!
1. Decide to add audio to your tours
If you're reading this, chances are you're on your way to adding audio to your tour offerings. Before you get started, check out some tours that have audio in place to become familiar with the feature. Seneca and UWindsor are great examples of recent audio guide launches. Once you're ready to get started, shoot us a message to let us know. We can walk you through the process and support anything you need from our end.
2. Build a timeline for your project
Make a realistic deadline for your project. Be sure to take recording, review and edits into consideration when timing out your project. Timelines to launch audio guides on your tour will vary with the number of tour scenes and hotspots you have, your in-house resources and your approval processes. However, it is reasonable to expect to launch an audio guide within a couple of weeks.
3. Review your content
Look at the current text descriptions on scenes and hotspots. For accessibility purposes, it is important that your written content matches audio content. Make sure your content is customer-centric and makes sense to read out loud. If you use hyperlinks within your guide cards, be sure to include actions into your script on where to find them. For example, your script may need to say, “click the link in the guide card to see a price list” so users can understand context while listening. Check out our tips on writing text descriptions.
4. Find a voice actor
Decide who will be the voice of your tour. Some customers use in-house talent and others have hired voice actors from external agencies. If you choose to record in-house, make sure you have proper equipment that will ensure good quality sound files. Tour guides can be a great option for in-house talent that resonates with your audience.
If you’re working with an external voice talent, review samples to find a voice that resonates with your customers and doesn’t sound too sales-y or animated. Some of our go-to sources for external voice talent include Voices and Fiverr. When working with external talent, be sure to ask about licensing and ownership of the recordings to be sure you are free to use the audio for your tour without additional costs. Need help finding a voice for your tour? We’re happy to chat further.
5. Record your tour narration
Once you’ve narrowed down who will be the voice of your tour, have them record it. Review some test clips to make sure it is the quality you are looking for. After all the recordings are complete, listen to each clip to make sure it has the right pronunciation and tone. If your tour has words with specific pronunciations and you are using external talent, you may want to give a voice recording sample of someone saying it to avoid back and forth after recording.
6. Input recordings into Circuit
Now that you’ve got your recordings ready, it’s time to put them into Circuit! Adding the files is easy – just open your scenes and add the mp4 files into the audio section of the editing pane. We recommend having a naming convention for your tour to keep uploading as easy as possible. Try saving your audio files in a convention like Tour Scene Hotspot (ex. Canada - Ontario - CNE) to keep things organized. If you already have a live tour, you can save files in draft so you can preview your audio tour before launching the update. Once you have your audio files inserted into the tours, go to the settings page and enable guide audio so sound shows up in your preview.
7. Launch your guide
When you and your approvers have reviewed your audio tours and are happy with the finished product, it’s time to launch! Go ahead and publish your audio guides. Once you’ve put them out into the world, your audience will get an option to access audio on or off when they enter your tours.
8. Review metrics
After your new tours have been live long enough to gather data, be sure to review your metrics. Our team will set up reports for you that show your analytics based on users who utilize audio vs. users who do not. This can help you keep track of the increased engagement brought by the feature and will help you optimize future experiences.
One of the best parts of an in-person tour is connecting prospects to your space. Telling stories about your spaces allow visitors to picture themselves in your location. Through the addition of audio guide, you can bring this personal connection into your virtual experience and connect even further with your audience.
Interested in getting started with audio guide? Click here to book some time with us to start planning.